

Mirror replacement collision service requires technical expertise and automotive design knowledge. It involves removing damaged mirrors carefully, sourcing new mirrors matching vehicle make and model, cutting and molding them for a perfect fit, using specialized tools and adhesives. Safety measures are crucial during installation, followed by meticulous testing and final inspection to ensure proper functionality and aesthetic appeal.
Technicians play a vital role in ensuring road safety through their expertise in mirror replacement collision services. This article delves into the intricate process, providing an insightful guide for professionals. From understanding the mirror replacement process to adopting essential safety measures and utilizing specialized tools, each step demands precision. We offer a comprehensive walkthrough, enabling technicians to deliver efficient, effective services, minimizing downtime and enhancing vehicle functionality.
- Understanding Mirror Replacement Process
- Essential Tools and Safety Measures
- Step-by-Step Guide to Efficient Service Delivery
Understanding Mirror Replacement Process

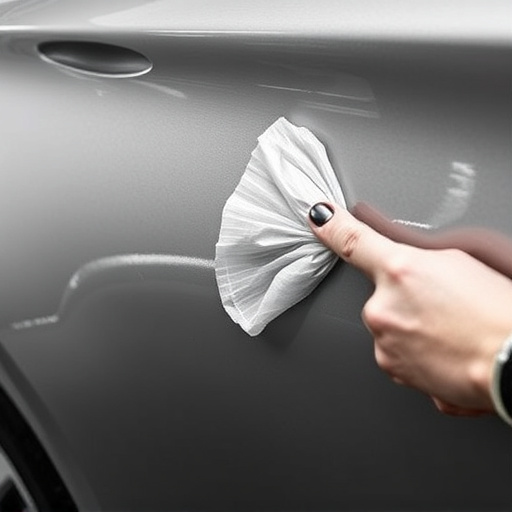
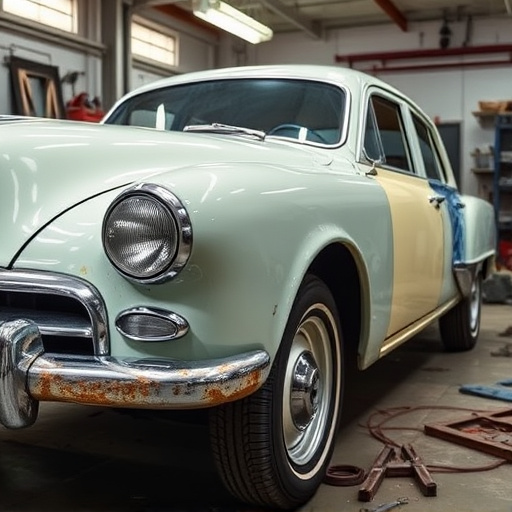
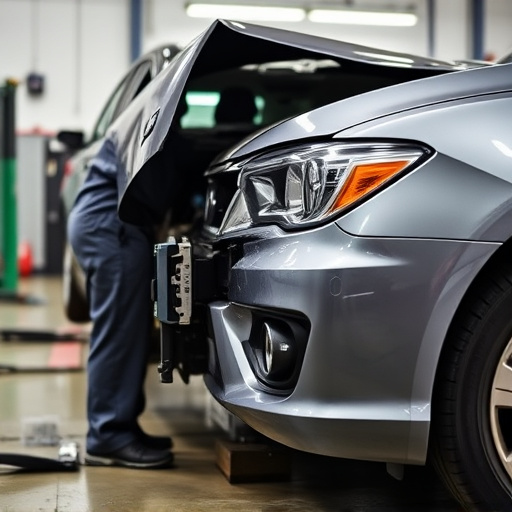
Performing a mirror replacement collision service is a meticulous process that requires both technical skill and an understanding of automotive design. It begins with assessing the damage to the vehicle’s side view mirrors, which can range from minor cracks to complete shattering. Technicians use specialized tools to carefully remove the broken mirror pieces while ensuring they don’t cause further damage to the car body restoration.
Once the affected area is prepared, the team proceeds with acquiring a new mirror that matches the vehicle’s make and model. This precision is crucial for seamless integration and maintaining the aesthetic appeal of the auto glass repair. The technician then precisely cuts and molds the new mirror to fit perfectly into the car body shop services’ designated location, ensuring a secure fit that prevents future issues.
Essential Tools and Safety Measures

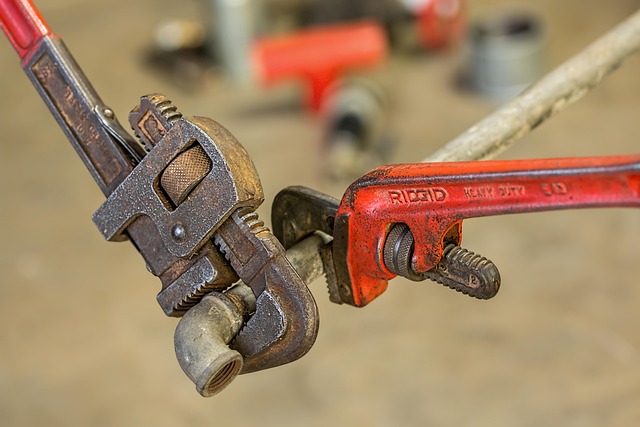
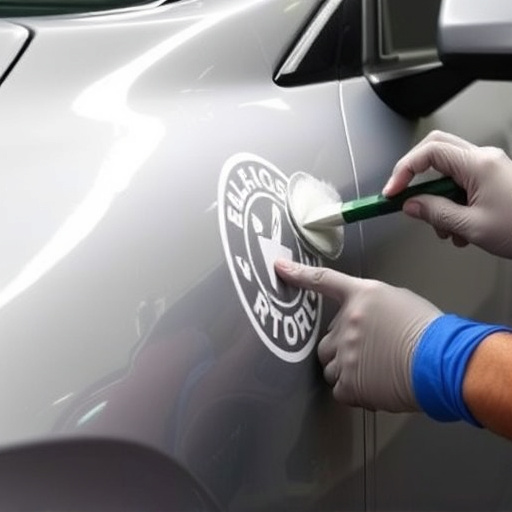
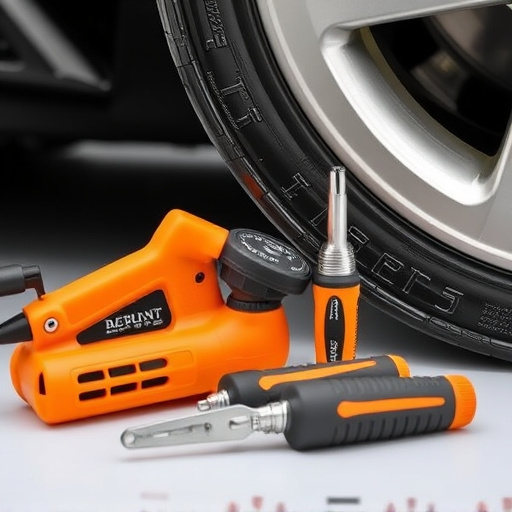
Performing a mirror replacement collision service requires a technician to be equipped with specific tools and adhere to safety measures. Essential tools for this task include specialized cutting tools, such as precision shears or saws, to remove the damaged or shattered mirror without causing further harm to the vehicle’s body. Additionally, technicians need adhesive and sealing compounds tailored for automotive applications, ensuring the new mirror is securely attached and weatherproof.
Safety measures are paramount during car collision repair. Technicians must wear protective gear, including gloves and safety goggles, to shield themselves from debris and potential injuries. Proper ventilation is crucial, especially when handling chemicals, as some adhesives may emit strong fumes. Moreover, working in a well-lit area and following manufacturer guidelines for specific mirror models ensures precision and prevents accidental damage during the vehicle collision repair process.
Step-by-Step Guide to Efficient Service Delivery

Performing a mirror replacement collision service requires meticulous attention to detail. Here’s a step-by-step guide for technicians to ensure efficient service delivery:
1. Safety First: Begin by securing the vehicle safely on jack stands and blocking wheels for stability. Safety is paramount, both for the technician and the integrity of the vehicle.
2. Assess Damage: Inspect the damaged mirror thoroughly. Identify cracks, dents, or other imperfections that need to be addressed during the replacement process. This step is crucial in ensuring a flawless finish and proper functionality.
3. Remove Old Mirror: Disassemble any components surrounding the old mirror, carefully detaching wires, sensors, and brackets. Use specialized tools to extract the damaged mirror without causing further harm to other parts of the vehicle.
4. Prepare New Mirror: Inspect the replacement mirror for any defects before installation. Ensure it matches the original specifications and is compatible with the vehicle model. Clean the mounting surface on the vehicle to ensure proper adhesion.
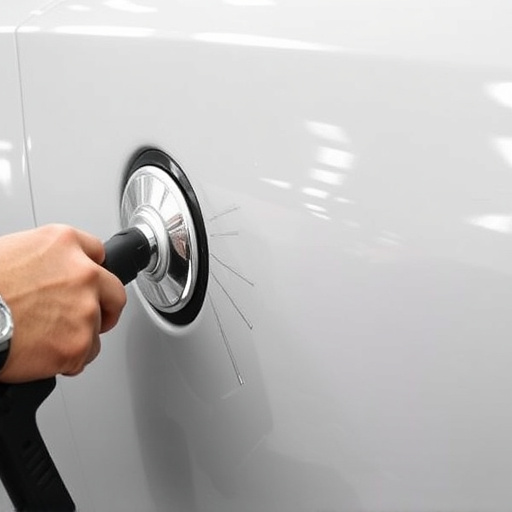
5. Install New Mirror: Position the new mirror accurately, aligning it perfectly with the vehicle’s contour. Secure it in place using appropriate hardware, following manufacturer guidelines strictly. Connect all detached wires, sensors, and brackets correctly.
6. Test Functionality: After installation, test the mirror’s movement, power functions (if applicable), and rear-end camera display (if equipped) to confirm proper operation.
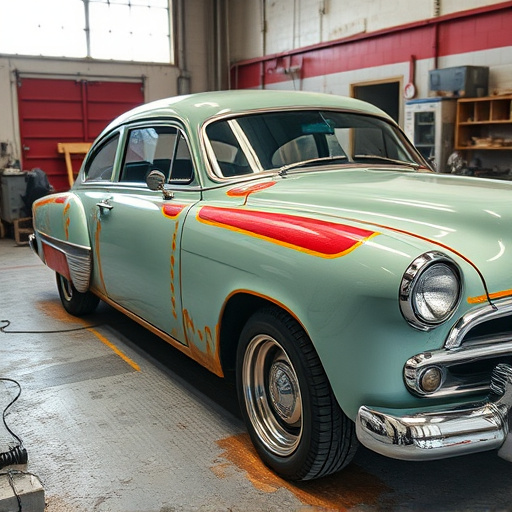
7. Auto Painting/Automotive Restoration (if necessary): If the vehicle requires additional paintwork due to surrounding damage, proceed with auto painting or automotive restoration services. Ensure color matching and smooth finishing for a cohesive repair job.
8. Final Inspection: Conduct a thorough inspection, checking all components, connections, and alignment. Make adjustments as needed before removing the vehicle from jack stands.
Performing mirror replacement collision services requires a meticulous understanding of the process, proper tools, and adherence to safety measures. By following a structured guide, technicians can efficiently deliver top-notch service, ensuring vehicle owners return to the road with enhanced visibility and peace of mind. When it comes to mirror replacement collision repair, expertise and precision are paramount for safe and effective results.